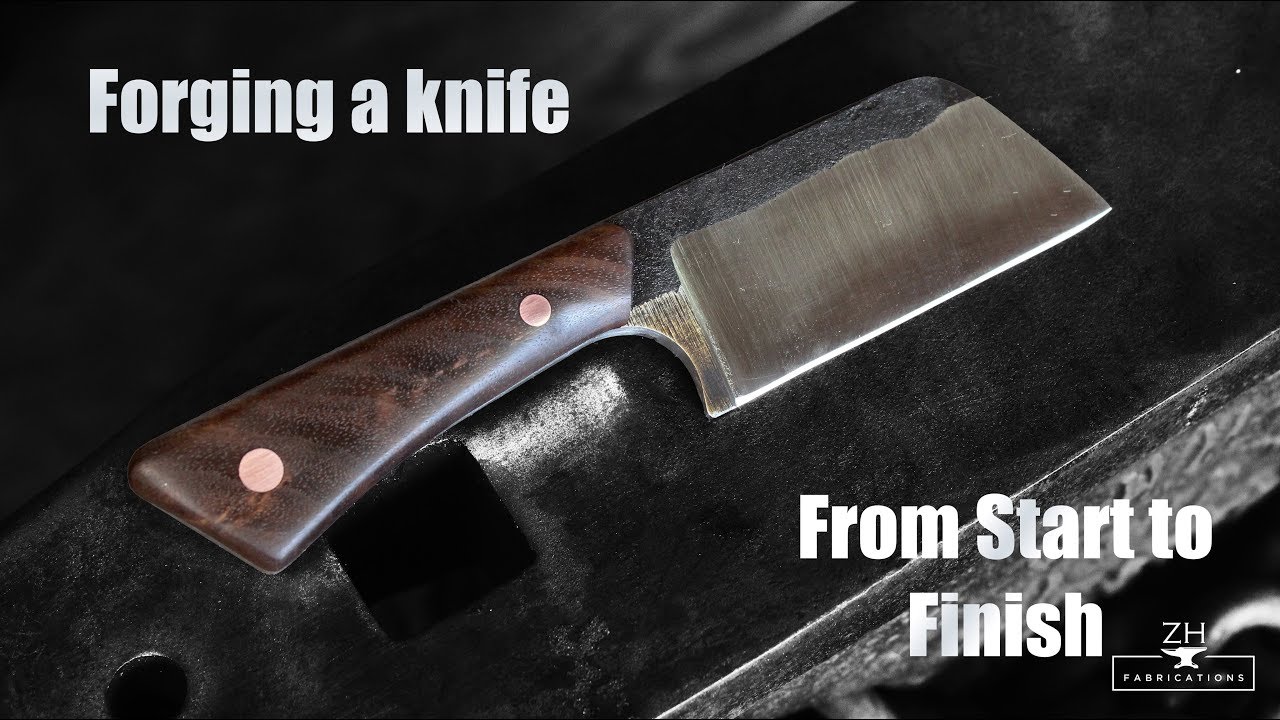
How To Forge A Knife
Forging a knife is an ancient craft practiced for centuries. It involves shaping raw steel using heat, force, and precision. Whether you’re a seasoned blacksmith or a beginner, learning to forge a knife is gratifying and educational.
This article guides you through essential steps, from choosing the right steel to mastering hammering, tempering, and sharpening. Following these techniques, you will create a unique, functional knife for cooking, hunting, or art. Dive into blacksmithing and craft your own knife.
Equipment and Materials You Need
Before you start heating up your forge, you must check your equipment and tools. Most blacksmithing projects require a forge to heat the metal, an anvil to work on, tongs for handling hot materials, and various hammers for different shaping techniques. Additionally, you’ll need the following materials for crafting a knife:
- A vise
- Chisels and punches
- Sandpaper
- Quenching oil and a bucket
These materials will facilitate the forging process and improve efficiency. Some items, like quenching oil and a bucket, are essential for completing your forging project.
Safety Precautions
While blacksmithing can be an accessible hobby for home-based crafting, it’s crucial not to overlook safety equipment and precautions. Whether you work in a professional blacksmithing shop or have a home setup, you must use the necessary personal protective equipment (PPE). This includes:
- Safety glasses or goggles and a face shield for eye protection.
- Earplugs or earmuffs for hearing protection.
- A respiratory mask or respirator for lung protection, especially for large-scale projects.
- Heat-resistant gloves or welding gloves and cotton clothing to protect your skin and hands.
Additionally, you should have a water bucket and a fire extinguisher within easy reach when using your furnace or forge to deal with potential fires. Be cautious about those around you and handle hot materials with care.
Selecting the Right Materials
You might wonder about the ideal materials for crafting a knife. Start with sturdy steel material. Different types of steel possess unique properties. Carbon steel, for instance, is a cost-effective option suitable for beginners who are learning through trial and error. Stainless steel and tool steel are also excellent choices for knife making and forging. Choose a type of steel that suits your skill level and availability.
Steps for Forging
Now that you’ve gathered all the necessary materials and tools, it’s time to begin the forging process. Here’s a step-by-step procedure for forging a knife at home:

- Heat the Metal: Heat your chosen steel until it becomes malleable. Place the steel in the forge using tongs and heat it until it turns bright yellow, aiming for a temperature range of 2,100 to 2,200 degrees Fahrenheit if you have a thermometer.
- Shape the Knife Point: Once the metal is hot enough, remove it from the fire using tongs and place it flat on your anvil. This is where the shaping process begins. Use a hammer to shape the tip of the metal into the knife’s point. Hold the other end with your tongs, maintaining a safe distance.
- Flatten the Metal/Blade: Begin flattening the metal to create a bevel, which forms the knife’s edge. Ensure there is enough space for the tang, the part of the knife that attaches to the handle. While focusing on shaping the blade’s edge, be mindful of leaving space for the handle to ensure the finished knife is functional.
- Anneal the Knife: Annealing involves repeatedly heating and cooling the knife to eliminate internal stress and toughen the material for actual use. Let the knife cool from the initial heating, then reheat it to a red-hot color in the forge. Repeat this process three times to complete the annealing process.
- Sand the Edges: Use sandpaper to smooth out the metal’s sides, refining the edges and shaping the knife.
- The Quenching Process: Quenching hardens the steel, enhancing its durability. Set up your quenching oil and bucket nearby. Then immerse the reheated steel in the oil as quickly as possible to achieve a strong blade.
- Reheat: To prevent the blade from becoming brittle due to quenching, slowly reheat it in the forge. This process, known as tempering, should be conducted carefully.
- Craft a Handle: If you intend to use the knife for cutting, you’ll need a handle for a comfortable grip. You can shape a block of wood yourself or purchase a pre-made handle. Once cool, drill holes through the tang of the knife and secure the handle using wire or screws. Customize the handle by filing or sanding it to achieve a comfortable grip.
- Finish by Sharpening: Finally, sharpen the knife to achieve a clean and sharp blade. Use a whetstone block to eliminate any imperfections and admire your polished blade.
Final Words
If you have been curious about knife making, now is the perfect time to get started. Follow this guide on forging a knife with your home forge to embark on your blade-smithing journey. If you don’t already have a home forge, you can find everything you need to begin at Cast Master Elite. They offer a range of products, from propane smelting furnaces to complete forging kits, to help you establish your own home forge.